Custom Folder with Collectibles
In this guide we'll create a Placeholder Folder and create a campaign to collect or organize a series of Objects. This setup can be used for experiences like a POP Passport, a Collectible Stickerbook, or a set of Merit Badges where Objects are collected and automatically added to a custom folder.
- Create Folder Design
- Create Contents Designs
- Add Designs to Campaign
- Set up Folder in Campaign
Video Tutorial at Bottom
Create Folder Design
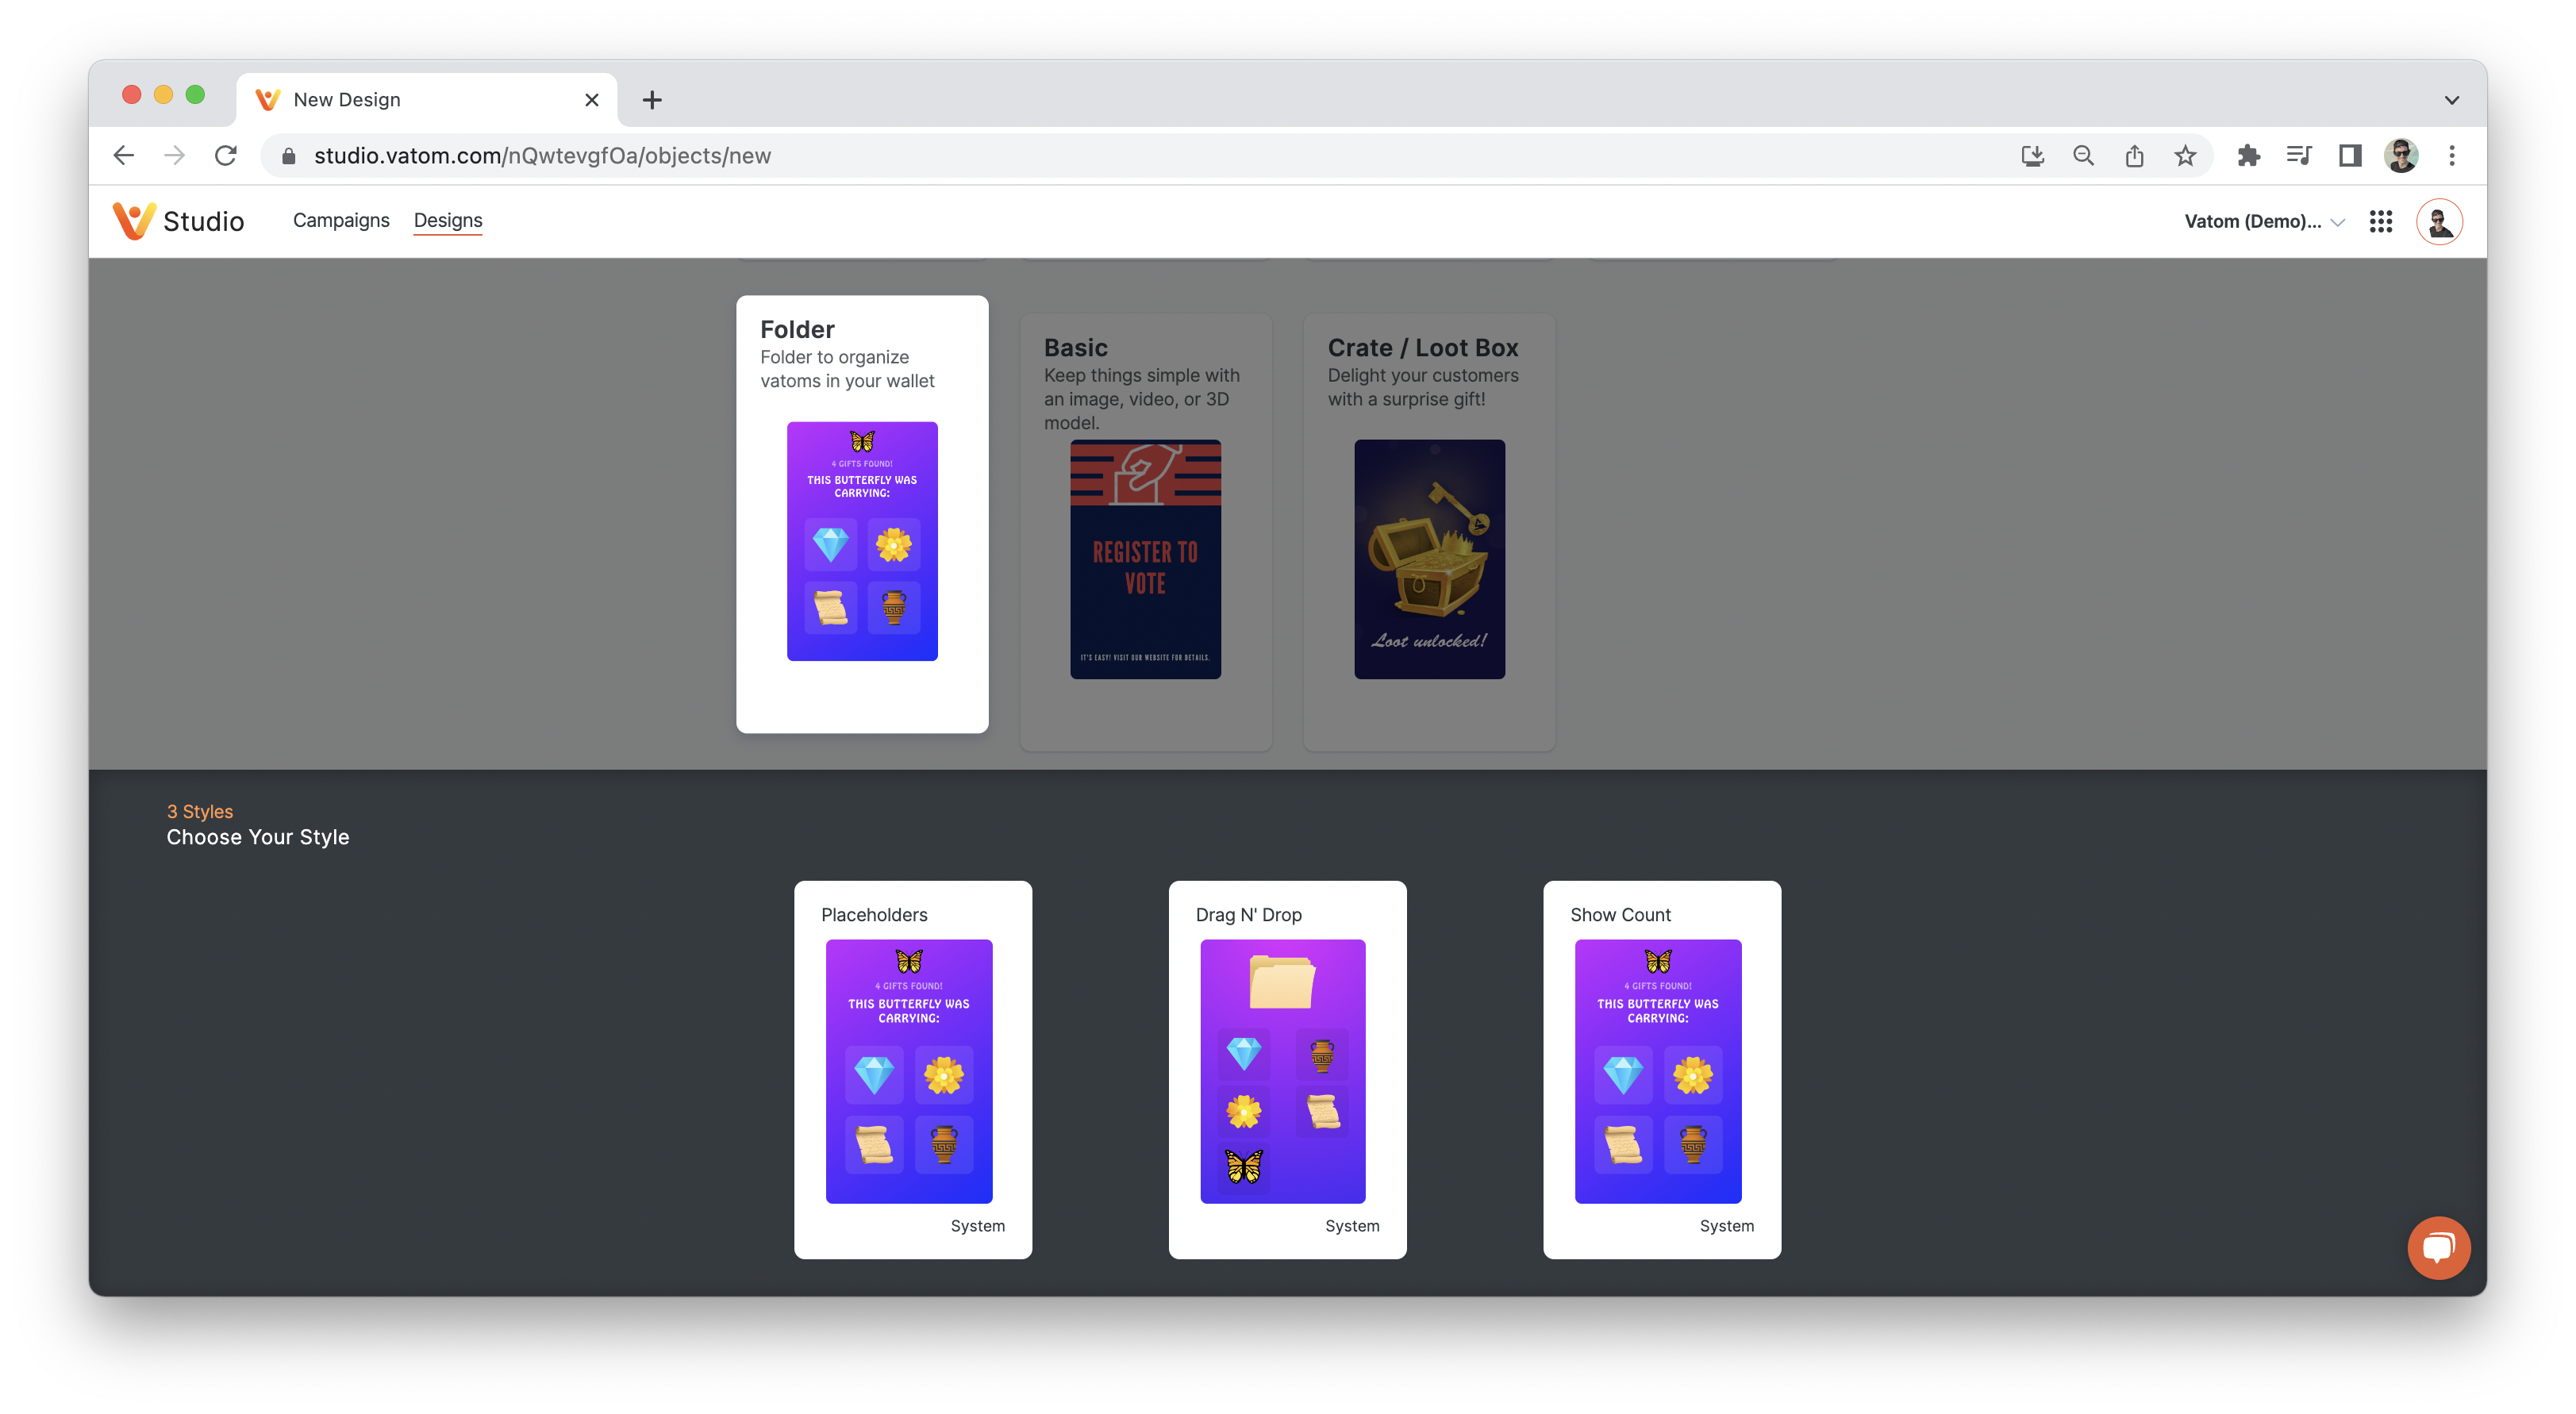
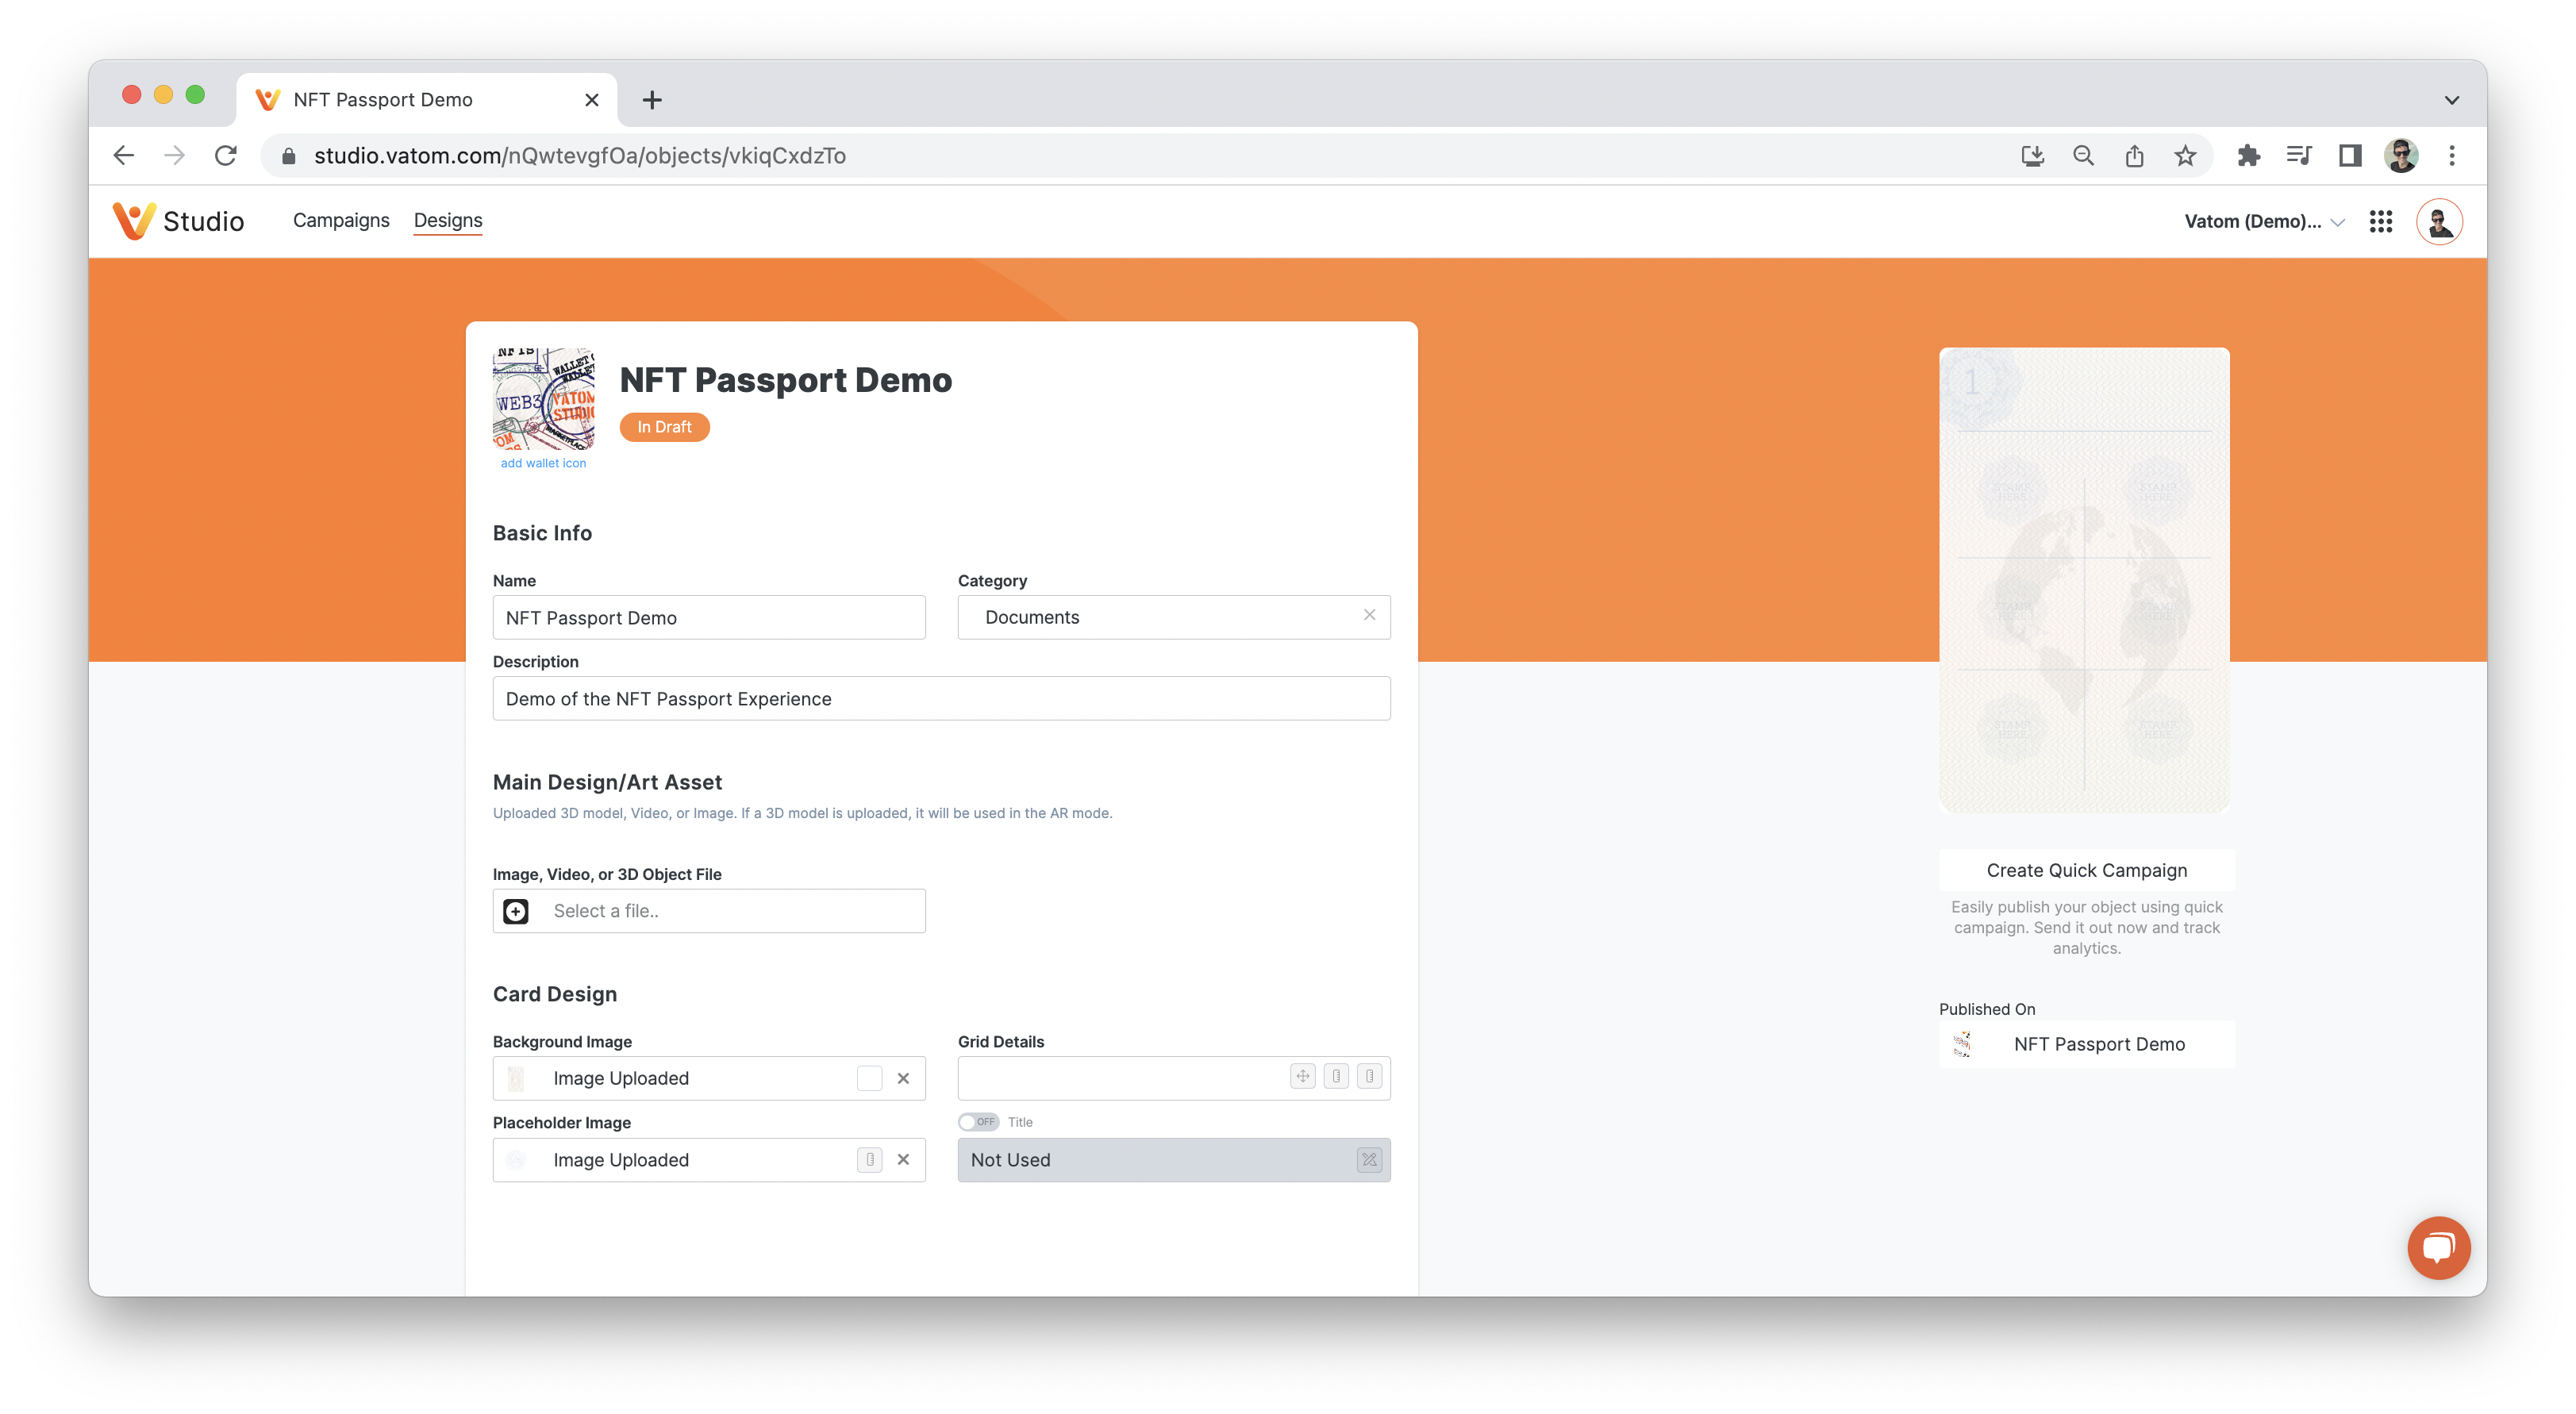
The folder requires the four Standard Vatom Components
- Icon Image (300 x 300px - jpg, png or gif)
- Name (max 35 Characters)
- Desctiption (max 100 Characters)
- Category Select
The custom Folder options are:
- Main Asset (optional)
- If a main asset is used, Folder becomes a pop-up window.
- If no main asset, folder loads full-screen.
- Background Image (750w x 1200h px - png or jpg)
- Placeholder Image (300 x 300px - jpg, png or gif)
- Grid Details - configure Icon Grid size and spacing
Create Contents Designs
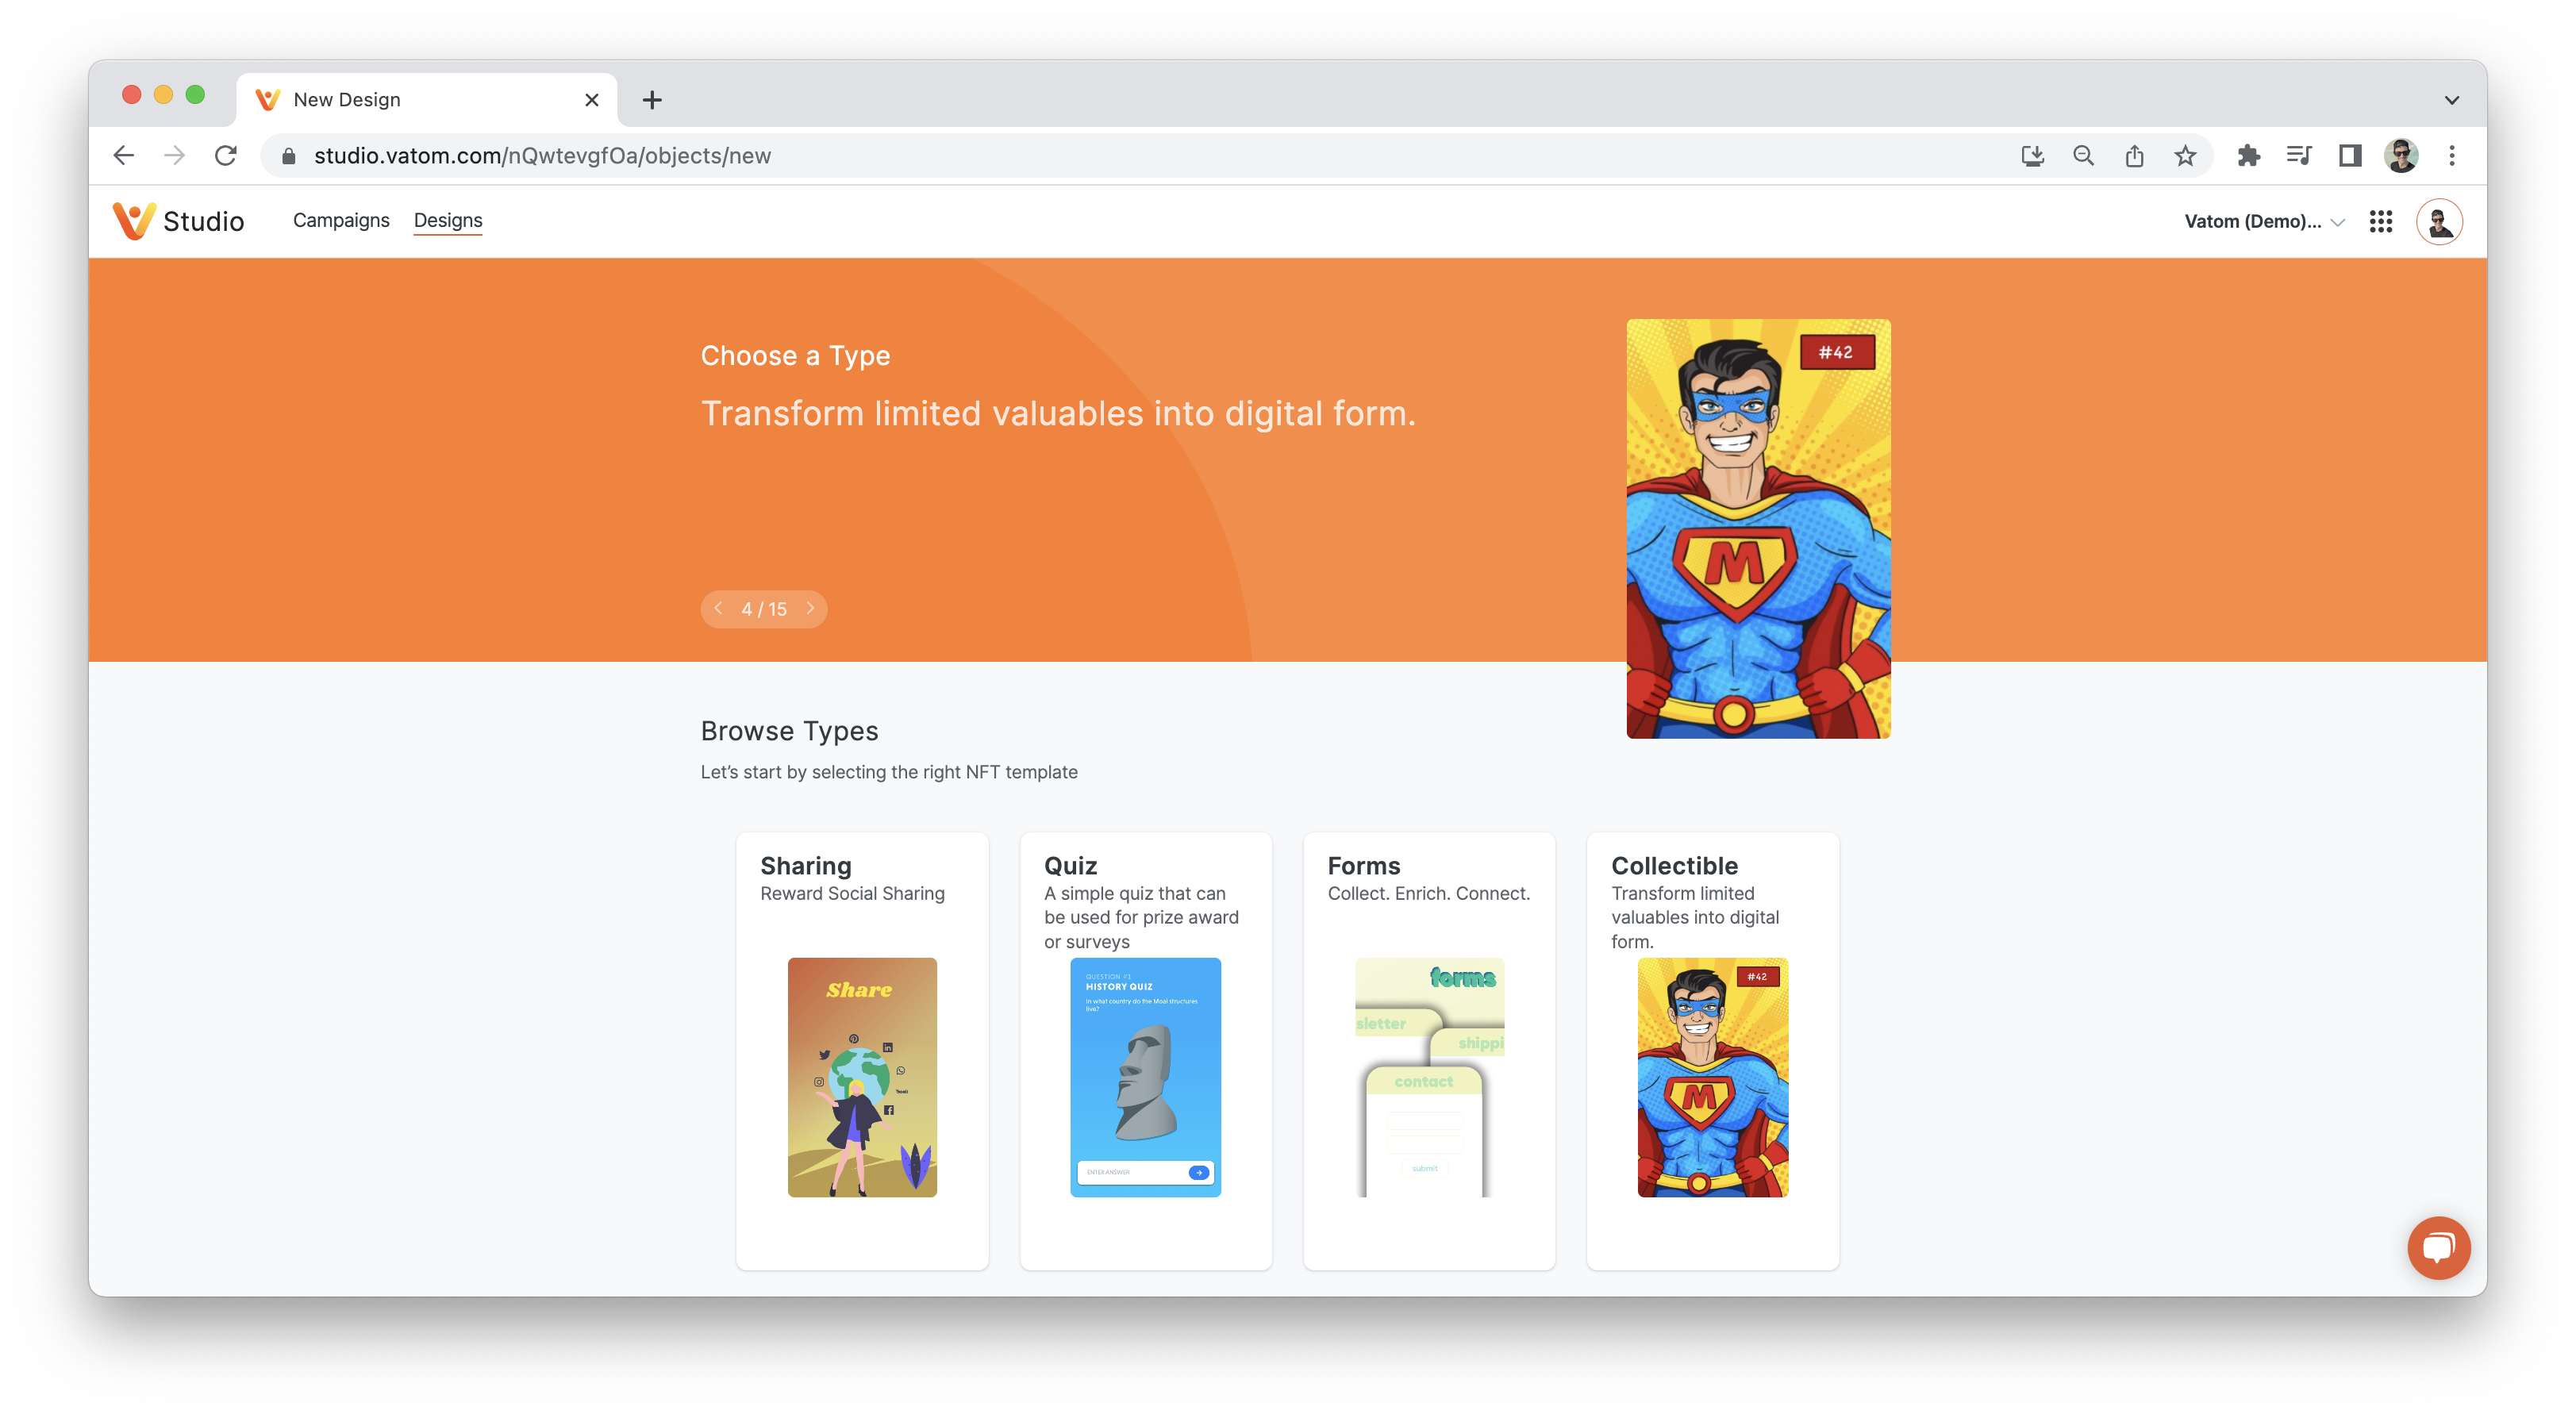
Any Vatom Design can be collected into the Folder. For this example we will be using simple images (Designs > Basic > Simple Image), but you can collect 3D Objects, coupons, games, and more.
Create each design you would like added to the Folder. The object's Icon Image will be displayed in the Folder Grid.
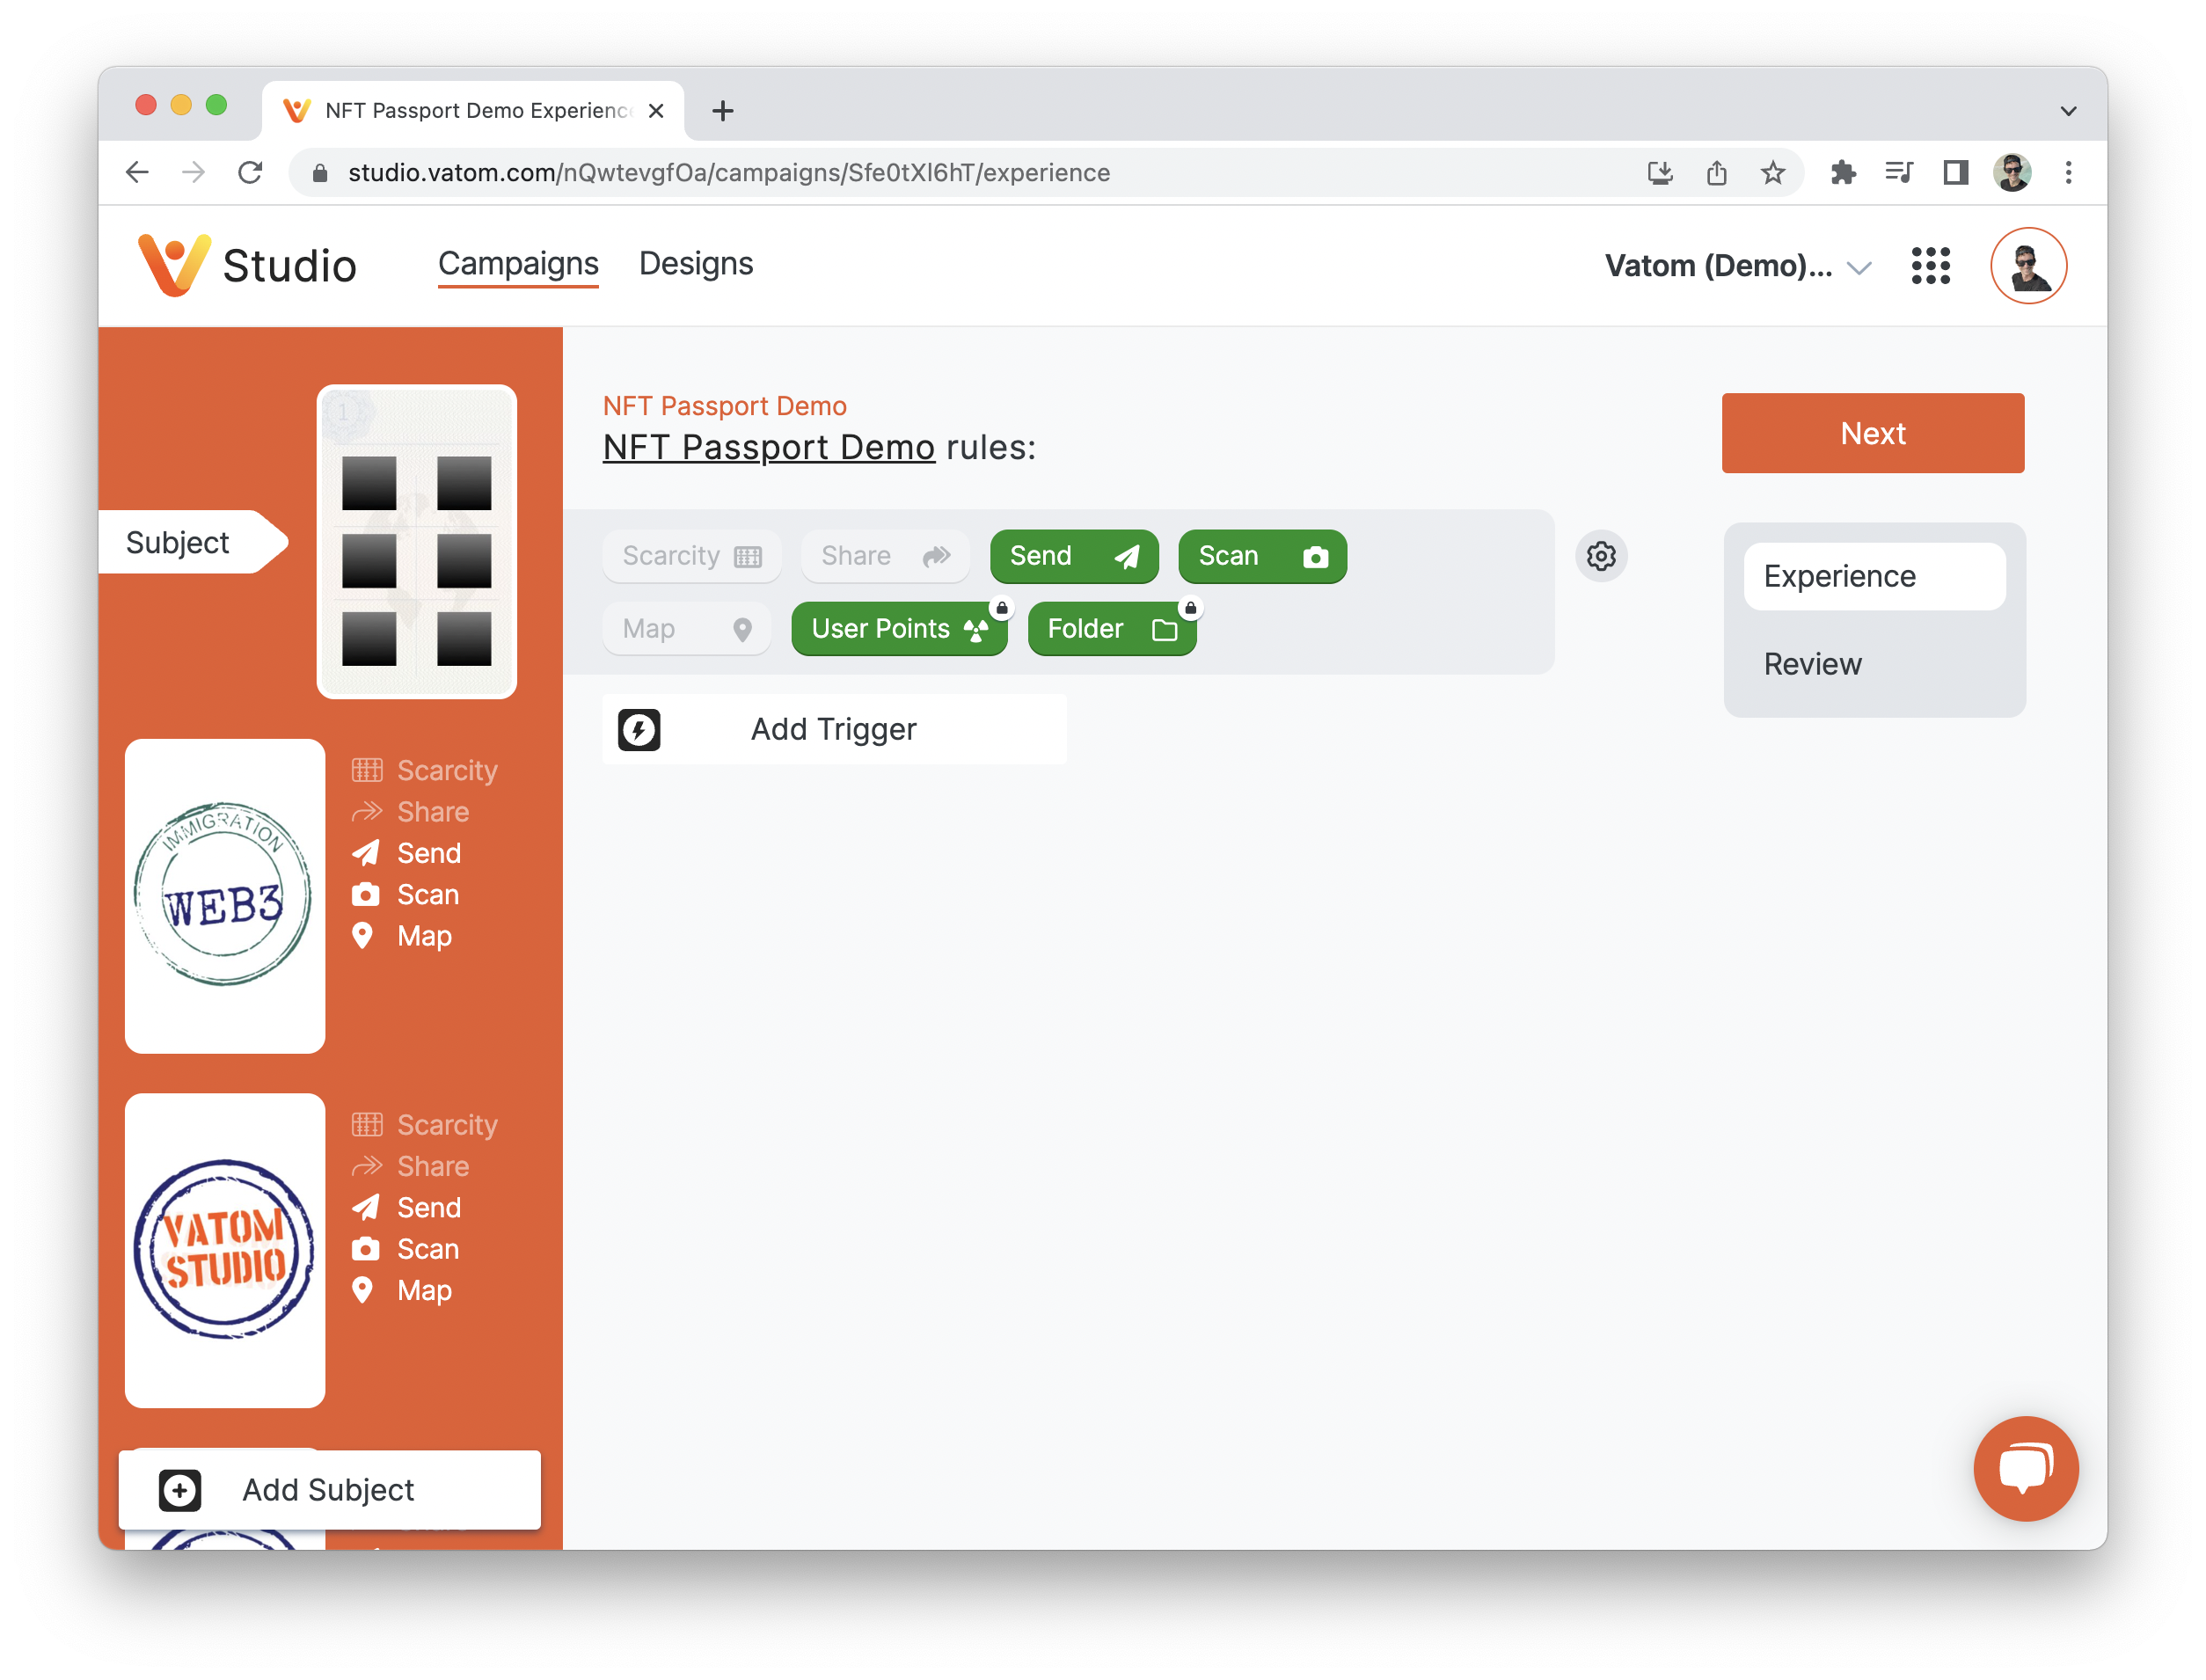
Create New Campaign and add Objects
3a - Add Subjects
In the Campaign Tab, choose New Campaign
Select Create an Advanced Experience and create a Reference Name for your campaign.
Add your Folder to the campaign with Add Subject > Design and choose your Folder Design
Add your Folder Contents to the campaign using Add Subject > Design and choose each of your folder contents.
All objects used in the campaign must be added as Subjects. If you have Dynamic NFTs with Prize Pools, all possible prizes must also be added to the campaign (and Folder) as Subjects.
3b - Set up Distribution Methods
Folder Contents and the Folder itself can be acquired by all the standard Vatom Distribution Methods.
- Scan QR / Click Hyperlink (Behavior > Scan)
- Direct Send
- Vending Machine (Design > Vending Machine)
- Find on Map (Behavior > Map)
- Join Campaign (Subject > Wallet)
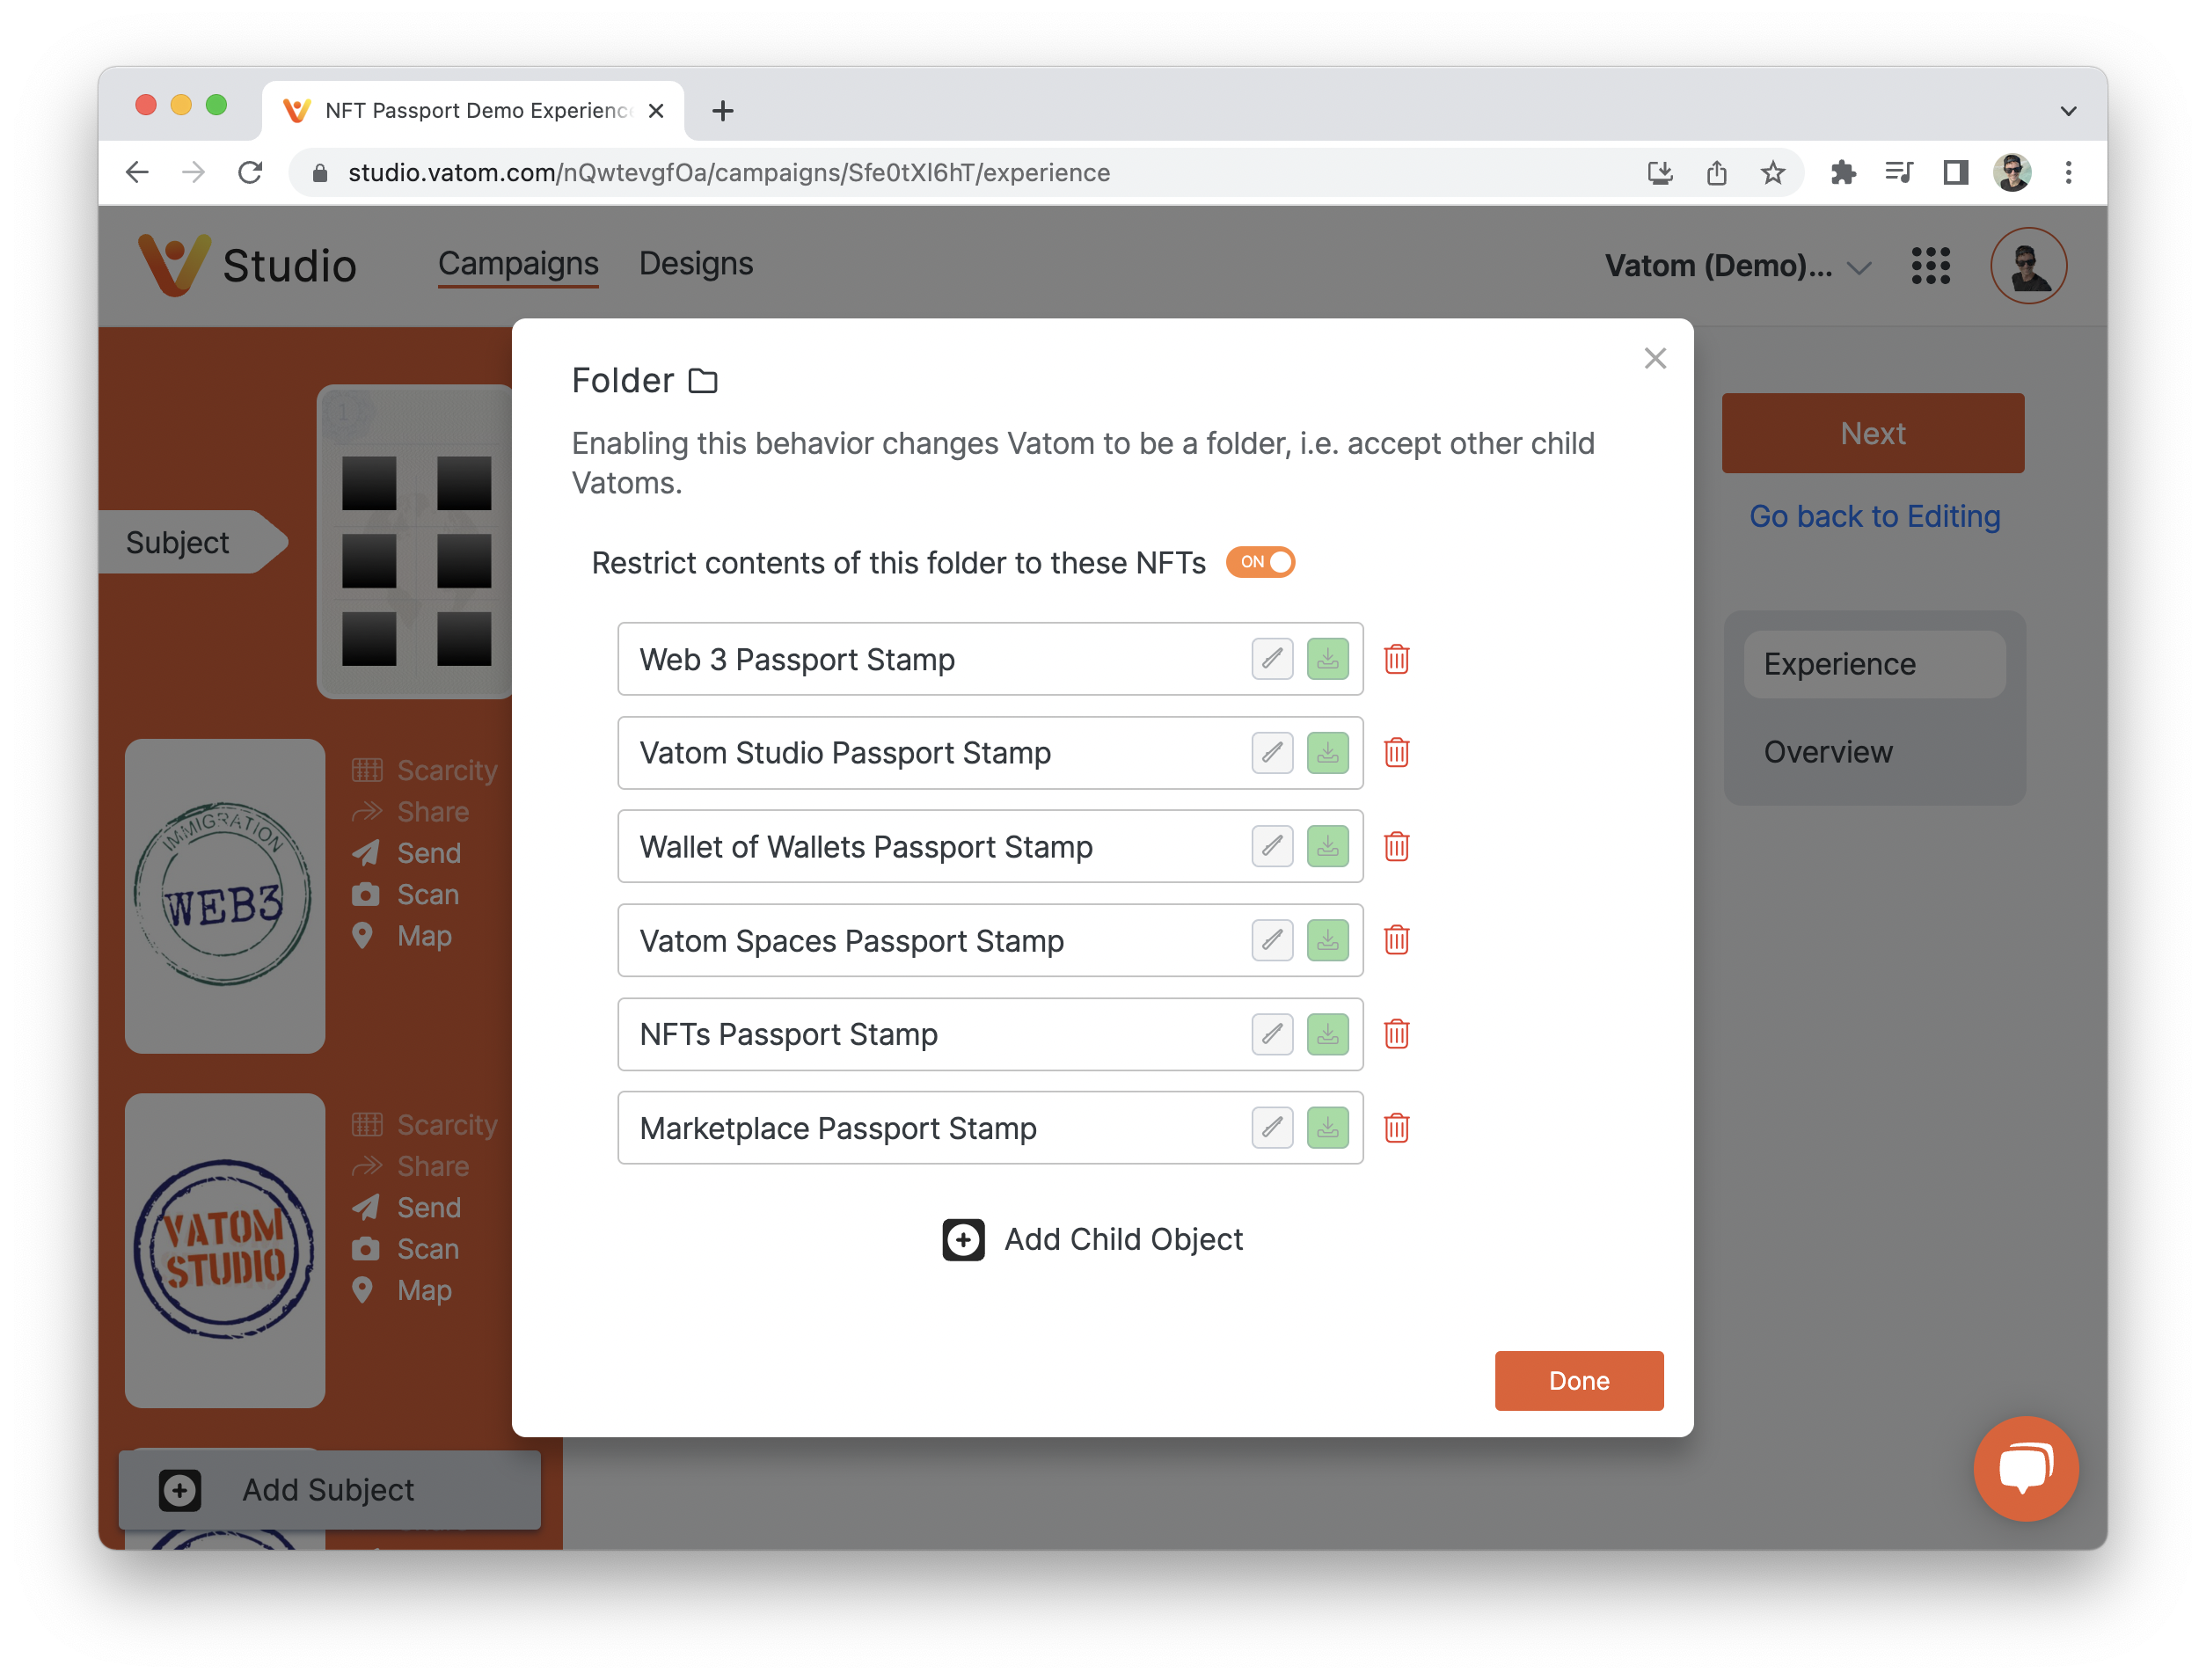
Set up Folder in Campaign
Select your Folder Design and click the green Folder behavior (pictured above) to open the Folder Config Menu.
Here you can Add Child Object to add your Contents or collectibles.
Contents will appear in the Folder in the order they are listed, and a placeholder will be used until they are acquired and added to the folder.
- Restrict contents of this folder to these NFTs: prevents additional objects from being added to the folder.
- Autocreate Quantity: Automatically creates and adds the object when the Folder is first delivered. For this campaign we do not want to have any objects in the folder to start.
- Autocombine: These Objects are automatically added to the folder when they are recieved.
- Delete: Delete the object from the Folder Contents List
Distribute Folder & Objects
The Folder is a digital object and can be distributed and managed like any other digital objects in the wallet. Guests can acquire the folder any of the same ways that they acquire the objects.